Interfacing an HC-SR04 ultrasonic sensor with an ESP32 microcontroller opens up a world of possibilities for projects ranging from distance measurement to object detection. In this tutorial, I’ll guide you through the process step by step.
Required Components:
- ESP32 development board
- HC-SR04 ultrasonic sensor
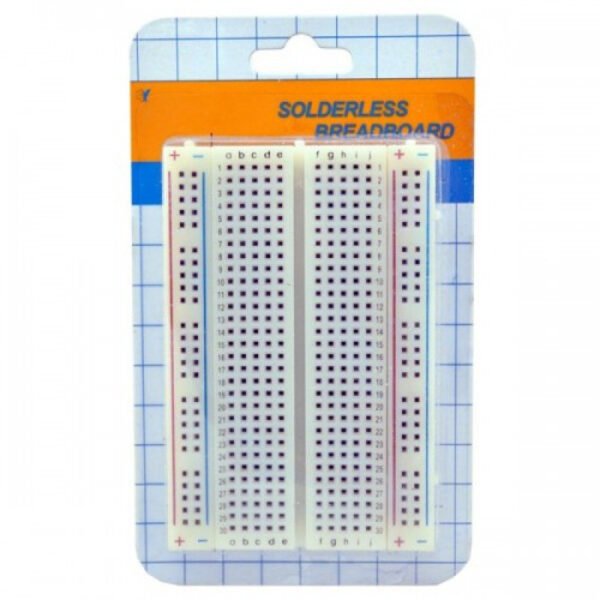
- Breadboard
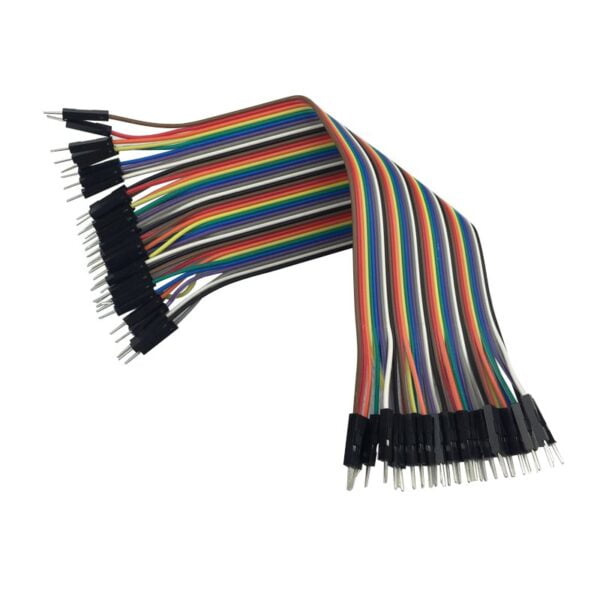
- Jumper wires
- USB cable for programming


Wiring Connections:
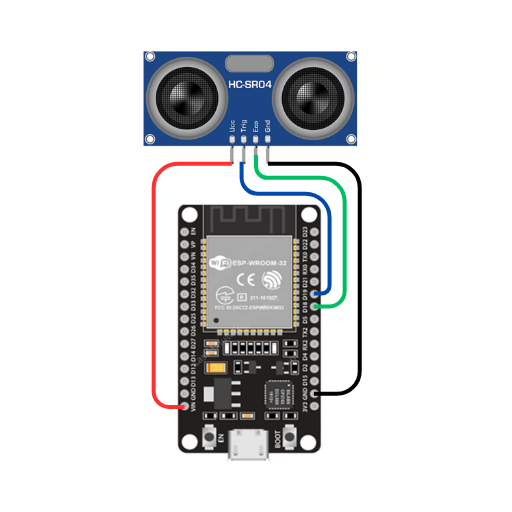
Connect the HC-SR04 sensor to the ESP32 as follows:
- VCC pin of HC-SR04 to 5V pin on ESP32
- GND pin of HC-SR04 to GND pin on ESP32
- Trig pin of HC-SR04 to any GPIO pin on ESP32 (e.g., GPIO 19)
- Echo pin of HC-SR04 to any GPIO pin on ESP32 (e.g., GPIO 18)
Installing ESP32 Board in Arduino IDE:
- Open Arduino IDE 2.
- Connect your ESP32 board to your computer via USB.
- Select the correct board (ESP32 Dev Module) and port in IDE.
- Copy and paste the code into the Arduino IDE.
Code:
// Define pins
const int trigPin = 19;
const int echoPin = 18;

void setup() {
  // Initialize serial communication
  Serial.begin(9600);

  // Configure pins
  pinMode(trigPin, OUTPUT);
  pinMode(echoPin, INPUT);
}

void loop() {
  // Send a short pulse to trigger the sensor
  digitalWrite(trigPin, LOW);
  delayMicroseconds(2);
  digitalWrite(trigPin, HIGH);
  delayMicroseconds(10);
  digitalWrite(trigPin, LOW);

  // Measure the duration of the echo pulse
  long duration = pulseIn(echoPin, HIGH);

  // Calculate distance in centimeters
  float distance_cm = duration * 0.034 / 2;

  // Print the distance to serial monitor
  Serial.print("Distance: ");
  Serial.print(distance_cm);
  Serial.println(" cm");

  // Delay before next measurement
  delay(1000);
}
Uploading and Testing:
- Click on the Upload button to upload the code to your ESP32.
- Open the Serial Monitor (Tools > Serial Monitor) to view the distance measurements.
With this tutorial, you should now be able to successfully interface an HC-SR04 ultrasonic sensor with an ESP32 microcontroller and start building your own projects!